You were just about to try The Simple Homemaker’s fantastic Sleeping Baby Biscuits when you realized, rats, you’re out of baking powder.
No problem!
This simple baking powder recipe will teach you how to make baking powder in under a minute…barring any unforeseen kitchen tragedies.
How to Make Baking Powder: A Simple Baking Powder Recipe
Simple Baking Powder Recipe
Author: Christy, The Simple Homemaker
Prep time:
Total time:
Running low on baking powder? No problem! Learn how to make baking powder in under a minute with this simple baking power recipe.
Ingredients
1 teaspoon baking soda
2 teaspoons cream of tartar
Instructions
Mix the baking soda and cream of tartar. Use in place of one tablespoon of baking powder.
Mix only as much as you will use right away. If you wish to store it for long term use, add a teaspoon of corn starch, potato starch, or arrowroot powder and seal it in an airtight container prominently labeled “My Amazing Homemade Baking Powder,” ‘cuz who doesn’t need a little pat on the back in the kitchen!
Multiply the quantity of ingredients by how much baking powder you need, keeping in mind that there are three teaspoons in one tablespoon. Hello, math skills! (Cheat: if you need 2 tablespoons of homemade baking powder, that’s 2 teaspoons soda, 4 teaspoons tartar, and 2 teaspoons corn starch if you’re using it.)
3.2.1263
Whether you want aluminum-free baking powder, need corn-free baking powder, or simply ran out, this baking powder recipe has got you covered. Did you ever think learning how to make baking powder could be that simple?
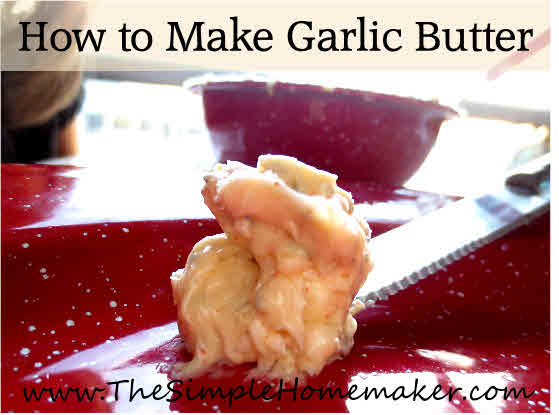
This garlic butter is amazing. It’s amazing! It’s so amazing that when I make it and sit down to dinner with my family, I can’t stop talking about it. I can’t stop saying in my amazed voice, “This is amazing!”
And they can’t stop saying in their sarcastic voices, “Wow, you’re humble.”
And that’s why, at The Simple Home, we call this “Mommy’s Humble Garlic Butter.” You, however, may simply call it Amazing Garlic Butter.
The original version can be found at AllRecipes.com. The recipes are both very tweakable, so do what you like to make it work for your family, cuz that’s what cooking for the family is all about, isn’t it?
How to Make Garlic Butter
Ingredients:
1 stick butter, softened
5-ish shakes paprika
2-6 cloves minced fresh garlic
1/2 teaspoon salt
1 teaspoon Italian seasoning
Optional ingredients:
2 teaspoons garlic powder (intensify the garlic flavor with garlic powder, or replace the fresh garlic entirely)
1/4 cup parmesan cheese (we like it with or without)
Directions:
1. Make sure your butter is nice and soft.
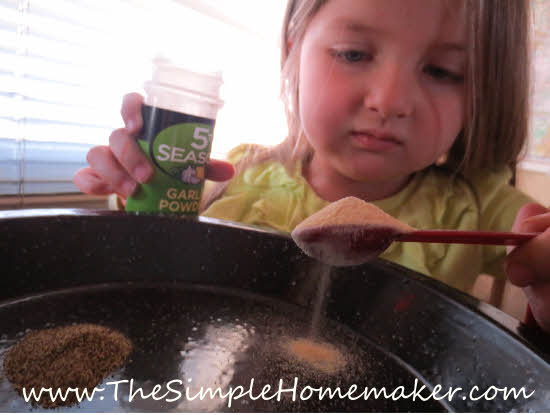
2. Add 4-6 shakes of paprika, or more for a deeper orange color. (If you’re four, you may wish to go with four, because four is fun.)
3. Add as much fresh minced garlic as you like, 1-2 cloves for a light garlic flavor, 6 for a stronger flavor. We used 6 in this batch. (See notes for more info on garlic.)
4. Add 1/2 teaspoon of salt. I like salt, and because I eat pretty much everything from scratch, it isn’t hiding in many of my foods. That’s why I don’t have an issue with a heaping half teaspoon. Adjust to your needs and tastes, but remember that salted butter varies in its salt content, so start low and add more if needed.
5. Add a teaspoon of the Italian seasoning of your choice. We usually use homemade, but for this batch we used these gorgeous Penzey’s Italian herbs gifted to us from a friend we met on our travels.
6. Mix with a spoon (or I suppose you could use some form of technology if you are desperate to wash something).
7. Taste. Adjust to your desired level of amazingness.
8. Serve. (See ideas below.)
Store your humbly amazing garlic butter in the refrigerator and use within a couple of days if you are using fresh garlic. If you are using garlic powder, store where you normally keep your butter.
Spread it on bread, wrap the bread in foil, and return it to the oven. Oh my! (Yeah, I know foil will kill you, but who really cares. I mean, this is amazing! I just drooled on my keyboard. Not joking.)
Saute mushrooms and onions in garlic butter for an easy side.
Use it to scramble eggs, fry eggs, or flavor cooked eggs. (It’s great for these flower or shamrock eggs.)
Spread it on a toasted hamburger bun for a garlicky butter burger.
Add it to a grilled steak. I hear angels!
Melt it and add it to any vegetables. Do it. I triple dog dare ya.
Spruce up a boring side dish of plain noodles, rice, quinoa, or other grains.
Adorn baked potatoes or use it to flavor mashed taters.
Melt it and pour it over popcorn. Oh yeah!
Stick it in a bowl, set it on the supper table, and watch what happens.
It’s so versatile, you could even wear it. Okay, maybe not.
Notes:
Adjust the garlic to your liking. We like garlic…I mean I personally seriously love garlic. Don’t stand right next to me. Garlic breath. Whew.
Test it with garlic powder instead of fresh garlic sometime to see how you prefer it. I like to tone down or replace the fresh garlic if I’m serving it raw, but if I’m using it to cook or on bread that’s going in the oven, I hit it hard with fresh garlic. Bam!
I almost always double this recipe, because it’s amazing. I may have mentioned that.
Here’s the boring printable version:
How to Make (amazing) Garlic Butter
Recipe Type: condiment
Author: Christy, The Simple Homemaker
Prep time:
Total time:
This delicious, quick, and simple garlic butter is versatile and amazing in any of its many uses.
Ingredients
1 stick butter, softened
5-ish shakes paprika
2-6 cloves minced fresh garlic
1/2 teaspoon salt
1 teaspoon Italian seasoning
2 teaspoons garlic powder (optional: intensify the garlic flavor with garlic powder, or replace the fresh garlic entirely)
1/4 cup parmesan cheese (optional)
Instructions
Measure.
Combine by hand.
Taste and adjust the garlic as desired, using either fresh or powdered garlic.
Serve as a spread for bread and biscuits, as a flavor enhancer for sides, or on popcorn. Put on meat or use to cook eggs and veggies.
Store in the refrigerator and use within a couple of days if you are using fresh garlic. If you are using garlic powder, store where you normally keep your butter.
3.1.09
Seriously, I think this is amazing…but I love butter, and I love garlic, so…there ya go.
That’s how to make garlic butter. Make it, eat it, let me know what you think!
Special thanks to my daughter Hannah of Horse Crazy Bookworm for many of the photographs, and to my helpers, butter softness tester, and tasters. You are all that and more!
Sometimes I’m all about speed and efficiency in the kitchen. That’s why I like to mix up my own spice blends ahead of time. On a busy night, there’s nothing better than a handy spice mix that you can snag for just about anything. (You all know that when I say “there’s nothing better,” I’m not counting cookies and pie and salvation and family, right? Just so we’re on the same page.)
That’s why I love this all-purpose seasoning we’ve made for years and named Mama’s All-Purpose Seasoning for Chicken, Fish, Rice, Veggies, and Just About Anything Else, or Mama’s APSFCFRVAJAAE. Catchy, eh? Fine, let’s just call it APS. Happy? Good.
I use APS on my roasted chicken, baked fish, pan fried fish, pan-fried chicken, veggies, and plain rice or quinoa. I’ve used it with flour to make a breading. Sometimes I sprinkle it on baked taters or home fries. APS is versatile enough to be used with just about anything. The only thing I haven’t used it for yet is dessert, although it might be good on popcorn. Hmmmm.
The original recipe comes from AllRecipes.com. My version is simplified, because that’s what I do...just in case you haven’t noticed by now.
As with all recipes, adjust the seasonings to your tastes and totally make it your own.
All-Purpose Seasoning for Chicken, Fish, Rice, Veggies, and Just About Everything Else
Ingredients
4 teaspoons salt (start at 2 and adjust up (or down) according to your tastes)
1 teaspoon onion powder
a scant teaspoon pepper (adjust according to your peppery mood; sometimes I use 1/2)
1 heaping huge teaspoon garlic powder (or 2)
2 teaspoons paprika
Optional ingredients
1/4 teaspoon cayenne pepper (adjust as desired)
1/2 – 1 teaspoon thyme (I like to use this for roast meats and sometimes for other cooked dishes, but I leave it out when I make a big batch to have on hand for general sprinkling)
Instructions
1 – Measure.
2 – Mix.
3 – Taste and adjust to your liking.
4 – Store APS in an empty spice container or in a mason jar in your pantry.
Cooking with APS
What to do with it:
Sprinkle APS wherever you want…within reason. (I don’t think I’d like it on ice cream.) I usually put it on potatoes and meats before cooking, and grains and veggies after cooking…but that’s just me. My hubby sprinkles it on anything as a table seasoning, especially rice.
How much to use:
About 2-3 teaspoons seasons a roasted chicken before cooking. If you add the additional ingredients (cayenne and thyme) or use extra pepper, it will be closer to two. Otherwise, just sprinkle lightly as with any salt.
This chicken was thinly sliced, tossed in a pan with olive oil, and sprinkled lightly with APS–that’s it! It was fantastic. All the best pieces were eaten before I remembered my camera, but these leftovers don’t look too bad! I call dibs!
Notes and hints:
We make this in bulk so it’s on hand to sprinkle on my roast chicken or anything else we feel needs a little more flavor. The simplest way to make it in bulk is to change the teaspoons to tablespoons, or just do a little math and multiply by, say, 20. It’s good for the ol’ noggin. Don’t mix it up in bulk until you’ve tried the recipe and tweaked it to your liking.
Sometimes we add thyme, but not usually when we make it in bulk, because I don’t want it in the big container for sprinkling on already cooked food. I really like the thyme for potato dishes and roast chicken, but I leave it out when I’m in a thyme-less mood.
We like salt. Adjust the salt to your personal preferences. When you’re making it, start with half the amount of salt and adjust up (or down if you’re really a low-salter). Some salts (like our Redmond’s Real Salt) taste more or less salty than others (like the Morton’s sea salt my chef used this time), so keep that in mind when adding salt. You can always add more.
The same goes for the pepper, garlic, and cayenne. Go with your mood, or find something that works for your family. We tend to enjoy a little extra heap to our garlic, but I generally save the cayenne for my cajun spice mix.
Once you get it adjusted to your liking, write the recipe down on a piece of paper and attach it to the container you store it in, so you can easily replenish as needed.
Here’s the boring printable version:
All-Purpose Seasoning Recipe for Chicken, Fish, Rice, Veggies, and Just About Anything Else
Author: Christy, The Simple Homemaker
Prep time:
Total time:
An all-purpose seasoning for just about anything in your kitchen.
Ingredients
4 teaspoons salt (start at 2 and adjust up (or down) according to your tastes)
1 teaspoon onion powder
1 scant teaspoon pepper (adjust according to your peppery mood; sometimes I use 1/2)
1 heaping huge teaspoon garlic powder (or 2)
2 teaspoons paprika
1/4 teaspoon cayenne pepper – optional (adjust as desired)
1/2 – 1 teaspoon thyme – optional (I like to use this for roast meats and sometimes for other dishes, but I leave it out when I make a big batch to have on hand for general sprinkling)
Instructions
Measure, combine, and store in a spice container or mason jar in the pantry.
Sprinkle on your food as desired, either before or after cooking. I like to sprinkle it on meat and potatoes before cooking, and grains and veggies after.
Adjust the seasonings to your personal preferences. For example, start with half the salt and adjust up if you like food to be less salty.
3.1.09
So, I suppose, like my hubby, you’re wondering why this is better than Lawry’s (or any other brand of) season-all salt. Mine has a cooler acronym.
Let me know how you adjust APS to your family’s liking…and what you call your version! I’d love to hear.
I haven’t purchased salad dressing in years. Why not? We make it ourselves.
Homemade salad dressing is the way to go, people! You can adjust the flavors to your liking, avoid any allergens or additives, control the sweetness, save money, and procrastinate just a little bit longer on that trip to the store. Best of all, it’s simple and delicious!
We have a variety of homemade salad dressing recipes, including the classics, such as ranch, Caesar, and French, and a few more creative options. Today’s salad dressing recipe is our quick go-to Italian dressing that we throw together as needed or to keep on hand for a quick lunch salad or dinner side.
To create this recipe, we took an existing recipe from Pampered Chef and altered it considerably over the years to fit our tastes and preferences. This recipe allows for numerous variations, so don’t be afraid to experiment to find what suits your family best.
Homemade Salad Dressing – Italian Dressing Recipe
Ingredients
1/2 cup white wine vinegar
1 cup extra virgin olive oil
*1 tsp basil
*1/4 tsp oregano (missing in the photo…and this batch)
*1/2-1 tsp salt (start with less and add more if desired)
1/2 tsp onion powder
*(You could replace all of these with 2-3 teaspoons of Italian seasoning, but because each Italian seasoning recipe varies, you can adjust the dressing more to your personal liking by using separate seasonings.)
Combine all the ingredients in a container and shake or stir to combine.
Notes and Tips:
We usually whip up and serve our Italian dressing in a Pampered Chef “Measure Mix and Pour” salad dressing container that I bought a decade ago. It’s so simple, a four-year-old can use it. See!
Amazon also has dressing mixers, such as this one, that look like they work in a similar manner. I also like the cruets that you fill, close, and shake, like this one.
Another option for shaking and serving is to toss all the ingredients in a wine vinegar bottle, shake it up, and serve it from the bottle. It’s the free option.
One of the perks to making your own salad dressing is eliminating unwanted ingredients, such as sugar. We don’t put sugar in our homemade dressing, but if you want to take the edge off the vinegar or sweeten the oil, add sugar or the sweetener of your choice in 1/4 teaspoon increments (less if using stevia) until it reaches your preferred sweetness. Taste as you go.
We like a 1:2 vinegar to oil ratio, but if you prefer less vinegar, experiment to find the ratio you like best. Sometimes I’m only in the mood for a 1:3 ratio, and use 1/3 cup vinegar. The same applies to the garlic…and all the other ingredients. Alter them to suit your tastes.
During cold and flu season, add extra garlic for a little immune blast! This batch had 6 cloves, but we normally use 4.
If the olive oil flavor is too strong for you, swap out half the extra virgin olive oil for another healthy oil, such as grapeseed oil (commonly available in most grocery stores) or avocado oil.
Shake before using, as the dressing will separate. Or find someone cute and little to shake or stir for you.
Store your dressing in the refrigerator and use it within a few days. I do not know the science behind this, but I generally don’t let it go past two weeks. If you have a small family or don’t eat salads often, cut the recipe in half or quarters if using fresh garlic.
Storing it in the frig will cause the oil to solidify, so plan ahead and set it out for thirty minutes, or run it under hot water for a couple minutes. Sometimes I cheat and leave it out, but you didn’t hear that from me.
Caution: fresh garlic stored in oil can result in botulism, so, regardless of what I do, store yours in the refrigerator and use within a few days if using fresh garlic. Still, vinegar is used as a preservative for garlic, so…there’s that. Use your common sense and don’t mix up enough to last an age unless you use garlic powder instead of fresh garlic.
1/2-1 tsp salt (start with less and add more if desired)
1/2 tsp onion powder
Instructions
Combine. Shake before serving.
Store it in the refrigerator.
If you need it sweeter, add the sweetener of your choice in 1/4 teaspoon increments, tasting between each.
3.1.09
What do you think? Simple, isn’t it? Do you make your own homemade salad dressing? If not, what’s stopping you?
Special thanks to my daughter Hannah of Horse-Crazy Bookworm for the photography, hair-styling, and food presentation, and thanks also to my little mixer and taster.
Disclosure: some of the links in this post are affiliate links. If you buy something from Amazon through my affiliate links, they give me some of their profits (ain’t that sweet!) and I buy olive oil and make more salad dressing. It’s all for a good cause.
Eggs have a natural protective coating that keeps the inside of the egg fresh despite the porous nature of the shell. When you boil hard-boiled eggs, you wash the protective coating off the shell, taking away nature’s preservative.
If properly refrigerated, hard-boiled eggs are generally considered edible for a week after they are boiled. (No need for confessions here about how long any of us actually let those eggs go!) That gives you an incredibly short amount of time to use up the 9 dozen eggs you boiled for Easter.
Here are 10 ways to use up the eggs before they go bad. Some are common, others are unique. The combination will keep your family from saying “Eggs?! Again?!!!”
10 Ways to Use Leftover Hard-Boiled Eggs
Eat them as is…sort of: hard-boiled eggs make a great quick breakfast, easy lunch addition, or protein-rich snack. They are less boring if you use your mama powers to transform them into an adorable family of chicks or regal egg penguins.
Sliced on salads: a salad bar with sliced fruits, veggies, seeds, and hard-boiled egg slices makes a great lunch or light dinner.
Top soups: slice them and use them to top soups such as saimin, our personal favorite “fast food” noodle soup from Hawaii. Many saimin recipes call for scrambling the eggs, but we noticed that the locals slice hard-boiled eggs and drop them on top.
Potato salad: use as an add-in for potato salad. There are about 3 million different recipes for potato salad, so choose your favorite or check out this impressive list of potato salad recipes from Idaho, where they know potatoes!
Deviled eggs (or stuffed eggs): try this deviled eggs recipe or the accompanying tutorial for these darling chicks if you’re feeling creative.
Add-ins: chop the eggs and add them to just about anything, from a breakfast bake to a noodle casserole.
Egg salad: this basic recipe for egg salad also lists numerous variations as well as an egg salad quesadilla.
Scotch eggs: If you’ve never eaten these Scottish sausage-wrapped eggs, you’ve never…well…eaten them. If you’re intimidated by the traditional deep-fried Scotch eggs, try this recipe for baked Scotch eggs.
Make meatloaf: Huh? Okay, so this Filipino style meatloaf is not exactly quick and simple, but it is Filipino, and I married a Filipino, and, seriously, meatloaf with hard boiled eggs in it? Um, yum! You at least have to take a look. (You can vary the recipe if you don’t like raisins and sweet relish in your loaf, but why not be adventurous!)
And a bonus use–Target practice: if you can’t manage to eat up all the eggs before they’ve expired, send the kiddos into the woods to toss them at a tree. The critters will thank you.
What is your favorite way to use up leftover hard-boiled eggs?
Today I am honored to have as a guest blogger, my lovely daughter Hannah.
It’s almost Easter! And one of the most popular signs of Easter is the Easter egg. So I’m here to tell you how to make the best hard boiled-eggs ever!
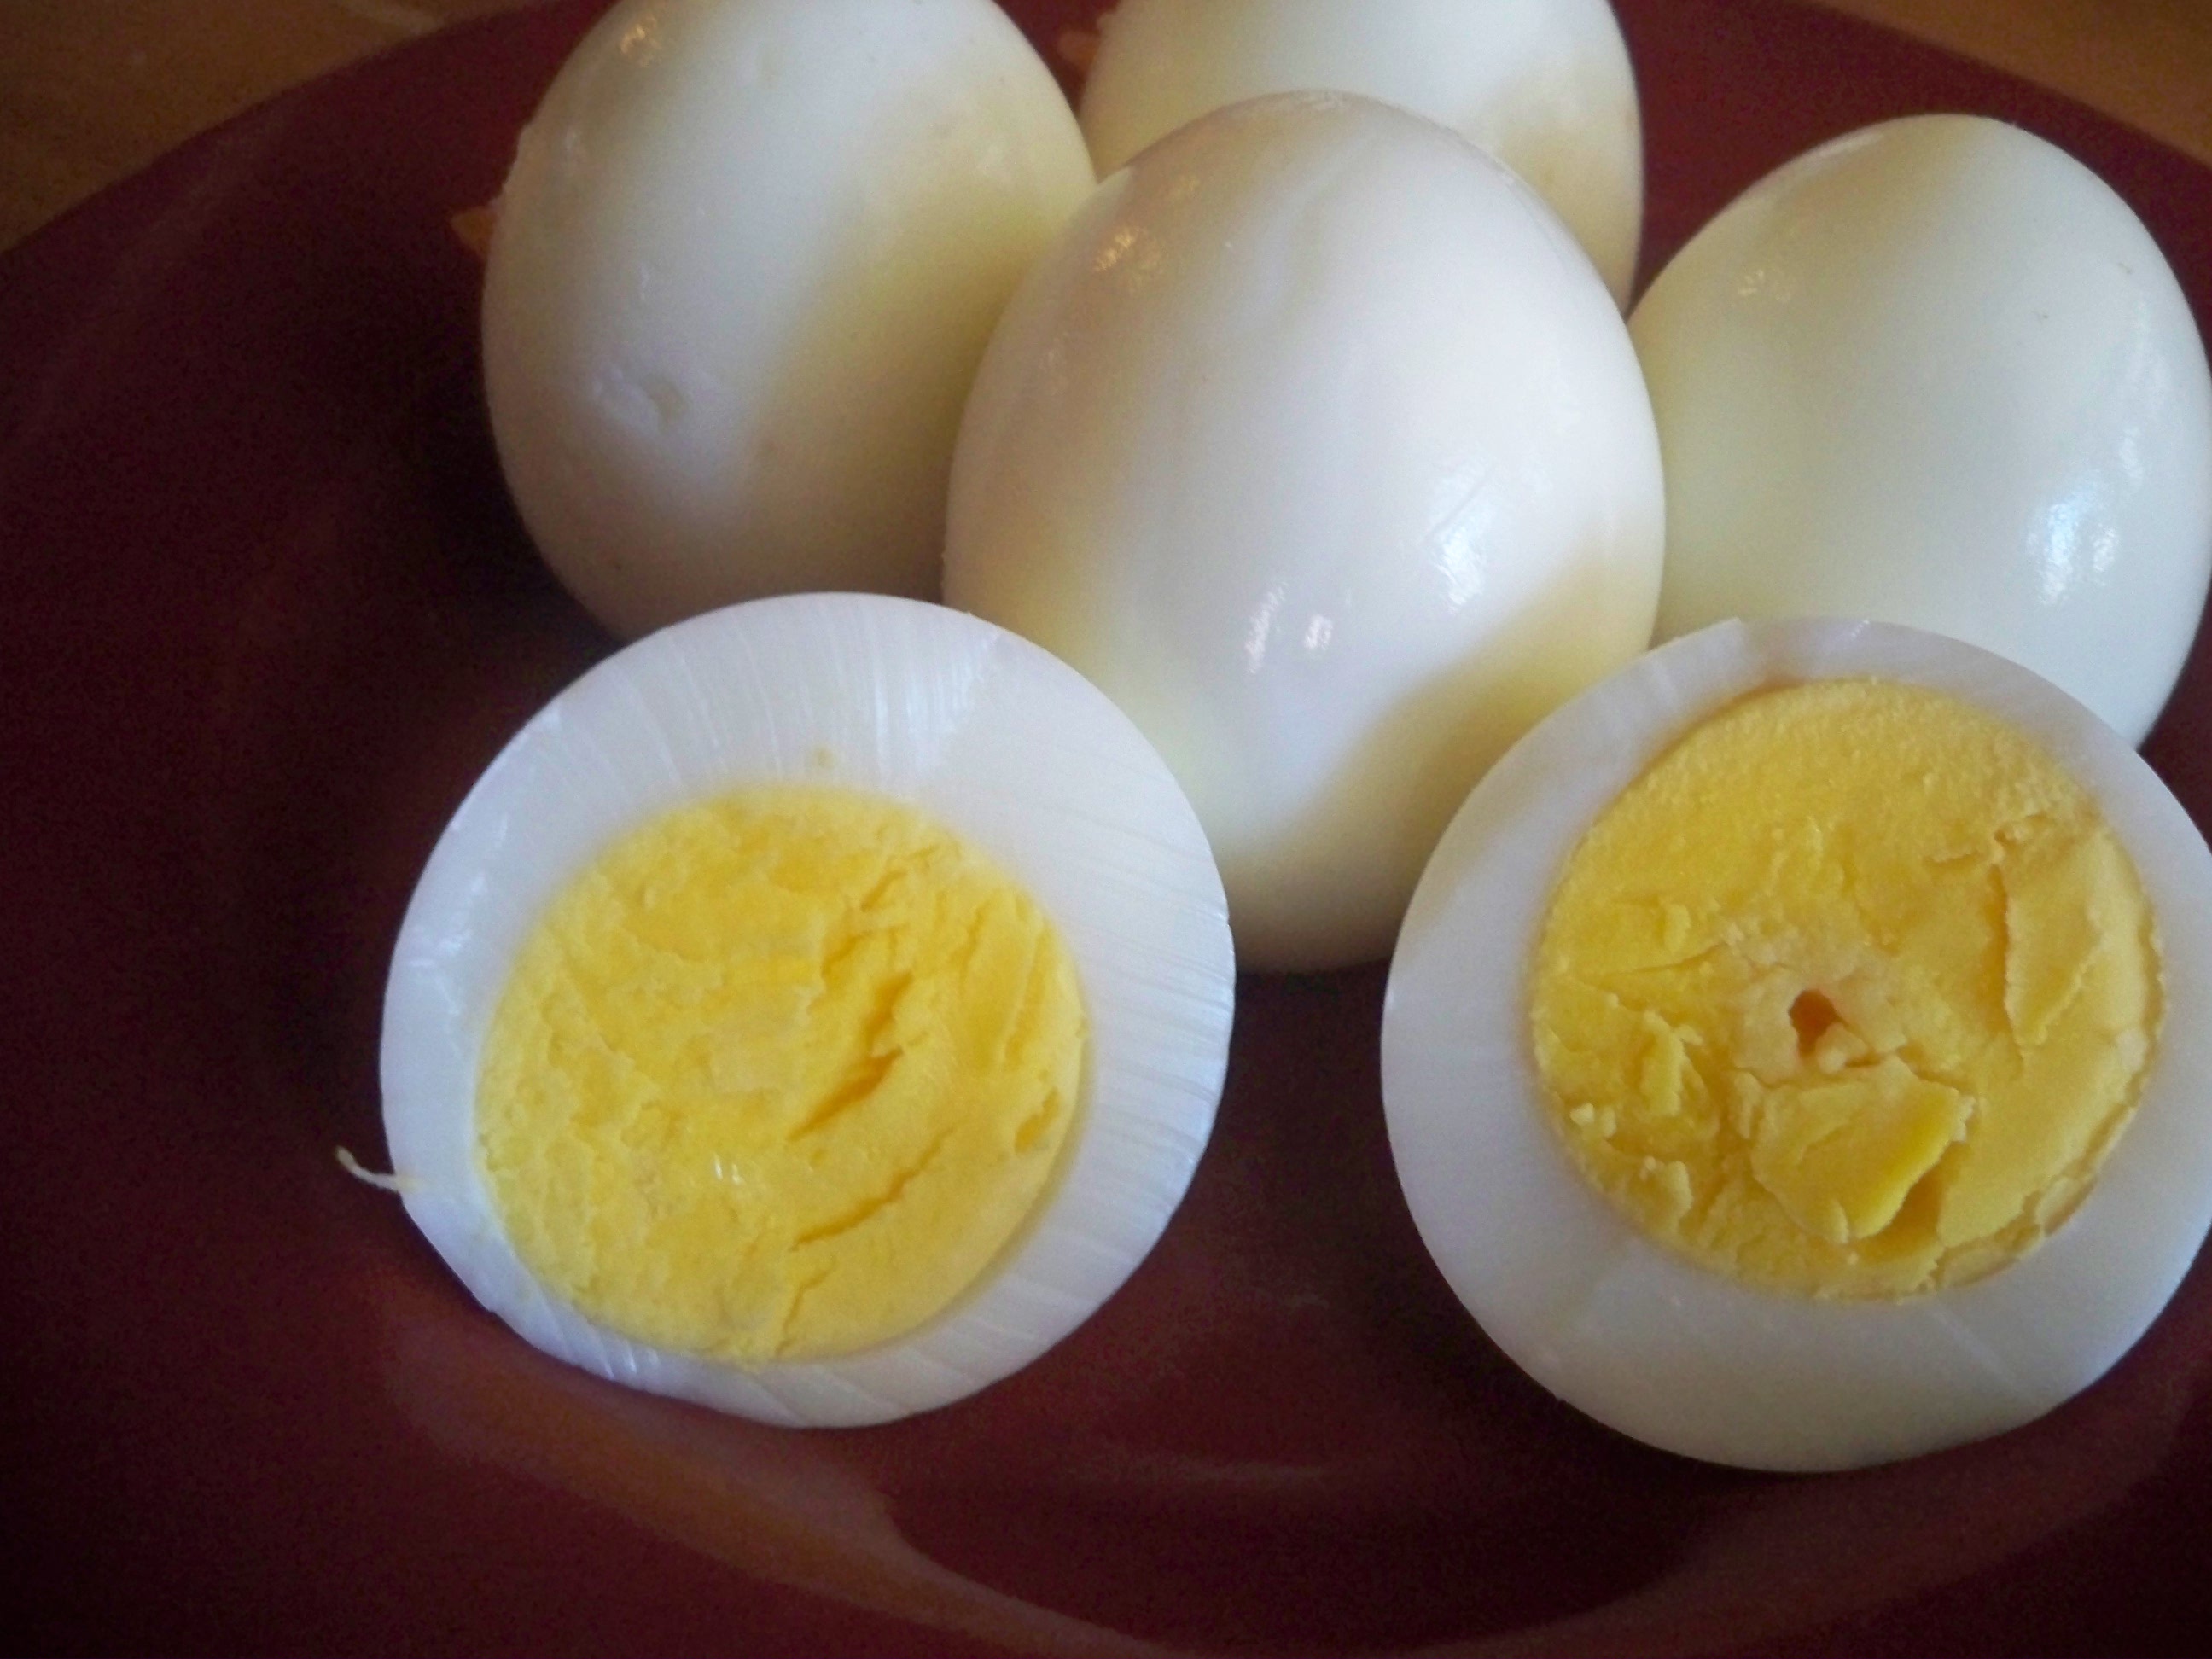
You know what I mean by “the best”? I mean a perfect bright-yellow-yolk-minus-the weird-green-color, easy-to-peel, and superbly delicious hard-boiled egg.
How to Boil an Egg: Making Perfect Hard-Boiled Eggs
What you need:
A pot and cover
Eggs–as many as you want, as long as they fit in the pot with some room to spare.
Water
A stove
A timer
A good book
How to boil an egg:
First, put the eggs in the pot and cover them completely with cool water. Set the pot on the stove.
Turn the stove on high; as high as it will go, its absolute highest, and wait for the water to come to a roaring boil. (When I say roaring boil, I don’t mean a few little bubbles at the bottom of the pot. I mean roaring, so that someone else can hear it from the next room.)
When it comes to a roaring boil, set the timer for three minutes. Then wait.
After the three minutes is up, turn off the stove, put the cover on the pot, and set the timer for seven more minutes. (Leave the pot on the burner!)
Then wait. Again.
When that time is up, take the eggs off the stove and rinse them in cold water. Sometimes I get lazy and just use room temperature water. That works too. (My mother, The Simple Homemaker, cools them in ice water.)
That’s it! Yep, you heard me correctly. You’re all done!
You can peel and eat them right away, or you can store them in the fridge. (It’s probably best to eat them within a week, but it’s a popular breakfast and snack in our house, so we have no trouble with that.)
So that, my friends, is how to boil an egg, the perfect hard-boiled egg.
It was cheap, it was simple, and it only took about ten minutes.
Here’s the boring printable version:
How to Boil an Egg: Making Perfect Hard-Boiled Eggs
Author: Hannah
Prep time: 1 min
Cook time: 10 mins
Total time: 11 mins
The perfect hard-boiled eggs.
Ingredients
A pot and cover
Eggs–as many as you want, as long as they fit in the pot with some room to spare.
Water
A stove
A timer
A good book
Instructions
Put the eggs in the pot and cover them completely with water.
Set it on the stove.
Turn the stove on high and wait for the water to come to a roaring boil.
When it comes to a roaring boil, set the timer for three minutes. Then wait.
After the three minutes is up, turn off the stove, put the cover on the pot, and set the timer for seven more minutes. (Leave the pot on the burner.)
Then wait. Again.
When that time is up, take the eggs off of the stove and rinse them in cold water or plunge them in ice water until cool.
Enjoy your perfect hard-boiled eggs! Happy Easter!
Hannah is my firstborn daughter. She was a “roadschooled” 15-year-old at the time of this writing, 2012. Now she is a budding photographer and a freelance writer who loves experimenting in the kitchen and cooking for people on restricted diets. She is currently working on a chocolate cookbook for people who can’t eat sugar, grains, dairy, or soy. Hannah makes all the hard-boiled eggs here at The Simple Home…the good eggs, anyway. She emphatically denies any accountability for yesterday’s batch of less-than-perfect eggs made by a certain someone (a-hem…her mother) who did not follow the above directions.
A reader recently asked how to make ketchup. Great question!
Despite the fact that my two youngest like to dip pickles in ketchup, we don’t generally use a lot of it here. Nevertheless, I was on a recent meatloaf and hamburger kick, so we went through quite a bit of the red gooey goodness. In fact, we ran out often, and there was no way I was dragging myself to the store just for ketchup, so I made some. It takes less time and effort for me to make ketchup than to go to the store and buy it.
There is another reason to make your own ketchup. If you read the back of a ketchup bottle, you will notice corn syrup in almost every brand. Brands that do not have corn syrup have quite a bit of sugar. And some have both! We only buy ketchup without corn syrup, but that doesn’t negate the quantity of sugar. I like to control the amount of sugar my family consumes…although I don’t think they necessarily like that aspect of me.
Here is how to make ketchup with our quick(ish) and simple homemade ketchup recipe, adapted from an overly sweet Allrecipes.com find. Linda, this one’s for you!
How To Make Ketchup
Recipe Type: Condiment
Author: Christy, The Simple Homemaker
Prep time: 10 mins
Cook time: 1 hour
Total time: 1 hour 10 mins
This homemade ketchup recipe is an easy and healthier alternative to store-bought ketchup.
Ingredients
6 ounces tomato paste
1 tablespoon brown sugar (or rapidura, muscovado, or your sweetener of choice—I use a little less than 1 tablespoon)
2 tablespoons white or apple cider vinegar (I’m an apple girl)
1 teaspoon garlic powder
1 teaspoon onion powder
1/8 teaspoon allspice
1 teaspoon salt
2 teaspoons molasses (I sometimes use more—hey, it contains iron)
1 cup water
Instructions
Mix all the ingredients together in a small saucepan and simmer on the stove for up to an hour or until it reaches your desired thickness. Cool, and adjust seasonings and sweeteners to your taste. Makes about a cup of ketchup, depending on how thick you want it.
2.2.1
The issue I have with simmering for an hour is that I usually notice at the very last minute that there is no ketchup, you know, when I reach in the frig to grab and use the ketchup. That means I don’t have time to simmer…so I sometimes don’t. If I’m not going to simmer, I only add enough water to get it as thick as I want it. Nevertheless, as much as I hate to admit it, it’s best to simmer so the flavors can mesh.
I double this recipe and store it in a pint-sized mason jar, but you could put it in an empty ketchup bottle. (I say “I,” but my girls usually make this cool condiment.)
Lacto-Fermented Ketchup Recipe
A better approach is to plan ahead and make a healthier ketchup. Gnowfglins, a fantastic site for painless education in wholesome food prep, has an excellent recipe for lacto-fermented ketchup. This is a very simple method of adding healthy probiotics to your homemade condiment selection. Once Upon A Plate has a slight variation of this same simple fermented ketchup recipe, and a bit of an explanation for extracting whey from yogurt.
These lacto-fermented ketchup recipes are my first choice for a healthy ketchup recipe. Fermented ketchup is not difficult to make, and you don’t need special equipment, so don’t be intimidated by the term “lacto-fermented” or the two-day fermentation period.
One More Ketchup Recipe
If you have a hearty tomato harvest and want to go completely from scratch, you can either make your own paste or try this ketchup recipe from Allrecipes.com. Read the reviews first. This is not a simple recipe, and has some strong flavors you may wish to adjust or leave out entirely according to your family’s preferences.
So there you go, Linda and friends! Now you know how simple it is to make ketchup. Thank you for sharing your questions. Please submit any other questions you may have, and I’ll answer them as quickly as possible.
If you try this ketchup recipe, let us know how it goes! Come back and leave a comment and rate this recipe.


")

