How to Keep Potatoes From Turning Brown

This post goes out to Facebook fan Jessica. Good luck and have fun with your first major Thanksgiving cooking!

How to Keep Potatoes From Browning

I love to prep as much of my major cooking ahead of time as possible, especially for Thanksgiving, Christmas, and Easter. (I’ve even fed the family breakfast before bed to get a jumpstart on the next day. Note to self: bad idea.) Sometimes my prep backfires, like when my pre-peeled potatoes turn brown.

How to Keep Potatoes From Browning

If I were to ask my husband about that phenomenon, he would draw on his pre-med training and say something all science-y, like the browning is caused when the polyphenol oxidase enzyme is released from the potato’s cells upon cutting. The enzyme immediately begins reacting with the oxygen in the air to turn the phenol compounds within the tuber brown in a process called oxidation.

Oxidation, shmoxishmation. I just call it ugly. They’re still perfectly edible, mind you, but they aren’t perfectly pretty. I like my taters to be pretty before I mash them into an unrecognizable pulp.

Here’s how you can get a jump start on your potatoes without the ugly.

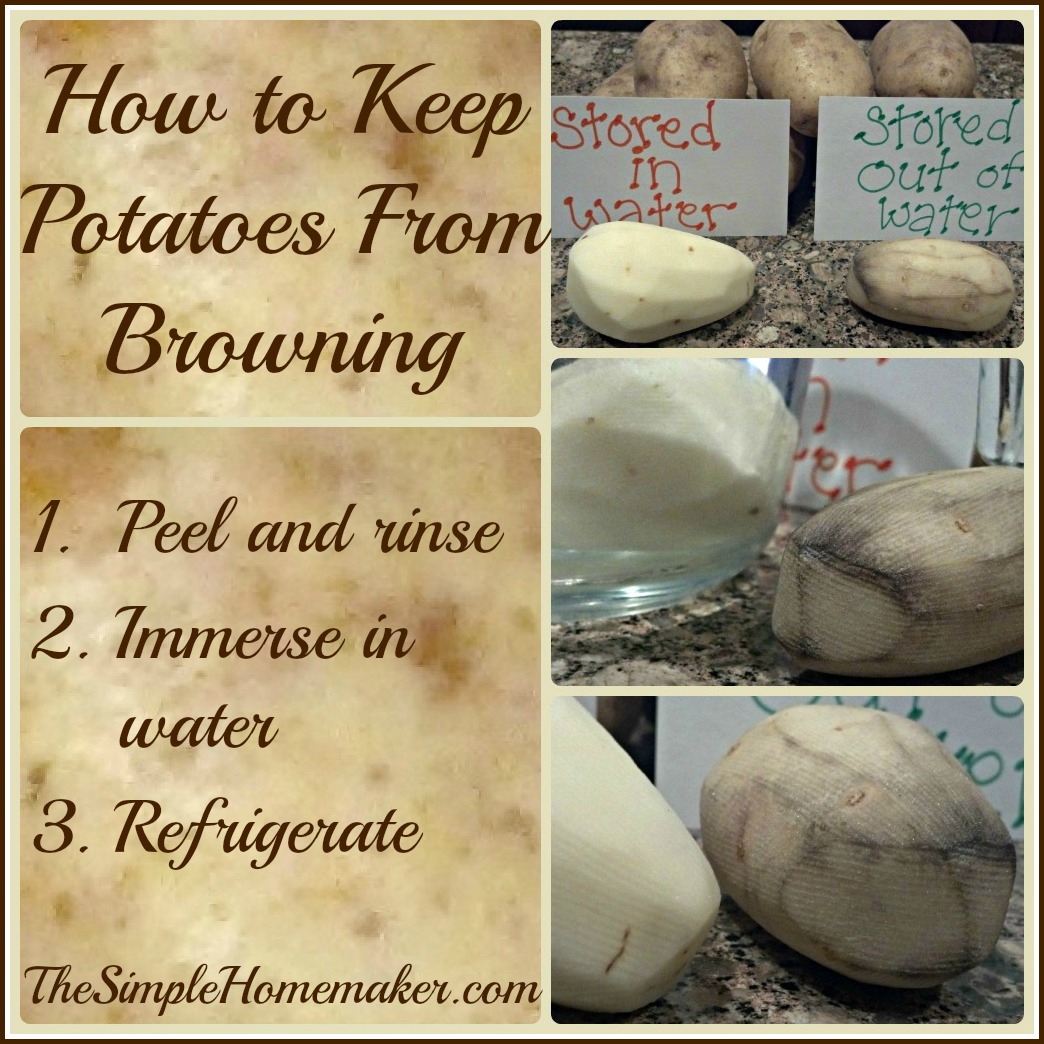
How to Keep Potatoes from Turning Brown
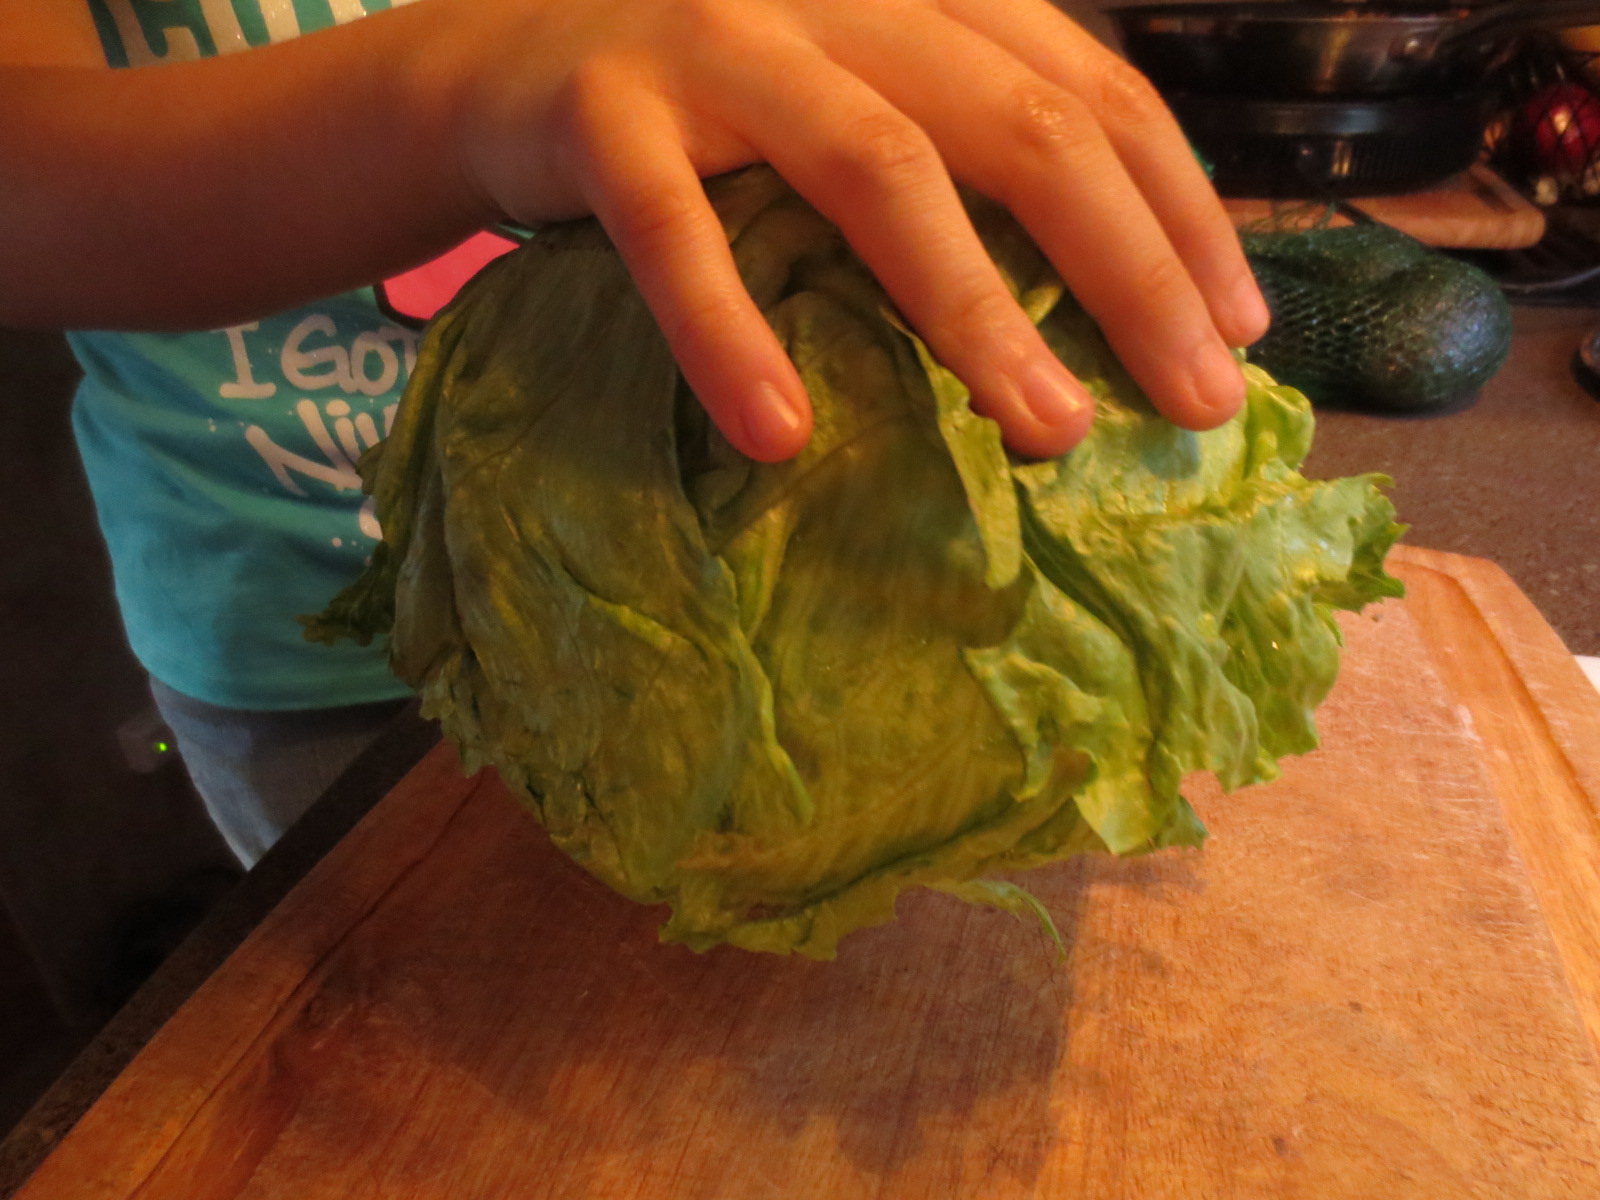
How to Keep Potatoes From BrowningPeel and rinse the potatoes. (So far so simple.)


How to Keep Potatoes From Browning

Place them (whole, sliced, or diced) in a bowl, pot, bucket, trough, whatever, and cover them completely with water. Completely! Taters in, air out.


How to Keep Potatoes From BrowningStore the bowl in the refrigerator. (I cheat on this step if I don’t have room in the frig. Shhh.)


That’s it! Told ya it was simple. Simpler than that whole polyphenol oxidase thingie.

How to Keep Potatoes From Browning

Notes:

I only do this overnight. Some people claim you can do this up to three days in advance as long as you replace the water and rinse the potatoes daily. Some people might be right about that. (See the comment section for other opinions.)

Others add a splash of lemon juice to keep potatoes from turning brown. This is a good practice for something that might be sitting in open air. Scientifically, however, the browning occurs when the potatoes come in contact with the oxygen in the air, which is an impossibility when the tubers are immersed in water whose oxygen is firmly bonded to hydrogen and won’t be oxidizing any taters. I save my lemons for lemon pie. Mmmm…pie.

I know you’re all itching to know why potatoes don’t turn brown after they’re cooked. Well, if I were to bother my pretty little head about such things, I would tell you that heat denatures the enzyme, rendering it inert, so it no longer reacts with the oxygen to transform the phenol compounds. (Heat kills enzymes.) But all that science just gives me a rash. Winking smile

Another alternative: crockpot mashed potatoes

How to Keep Potatoes From BrowningMy dear blog friend Stacy from Stacy Makes Cents has a recipe for crockpot garlic mashed potatoes in her e-cookbook, Crock On. Crocking your taters would entirely free you up from even having to think about them. It would almost be like having a personal chef make the potatoes for you, and all you had to do was eat them. Crockpots are neat like that.

Read my review about Crock On here, or, if you want the recipe for crockpot mashed potatoes for Thanksgiving and don’t want to bother with any ol’ reviews in case it talks about phenols and denaturing enzymes (which it doesn’t), buy it now for $5, or get it on Kindle. That’s how I’m making our mashed potatoes this year.

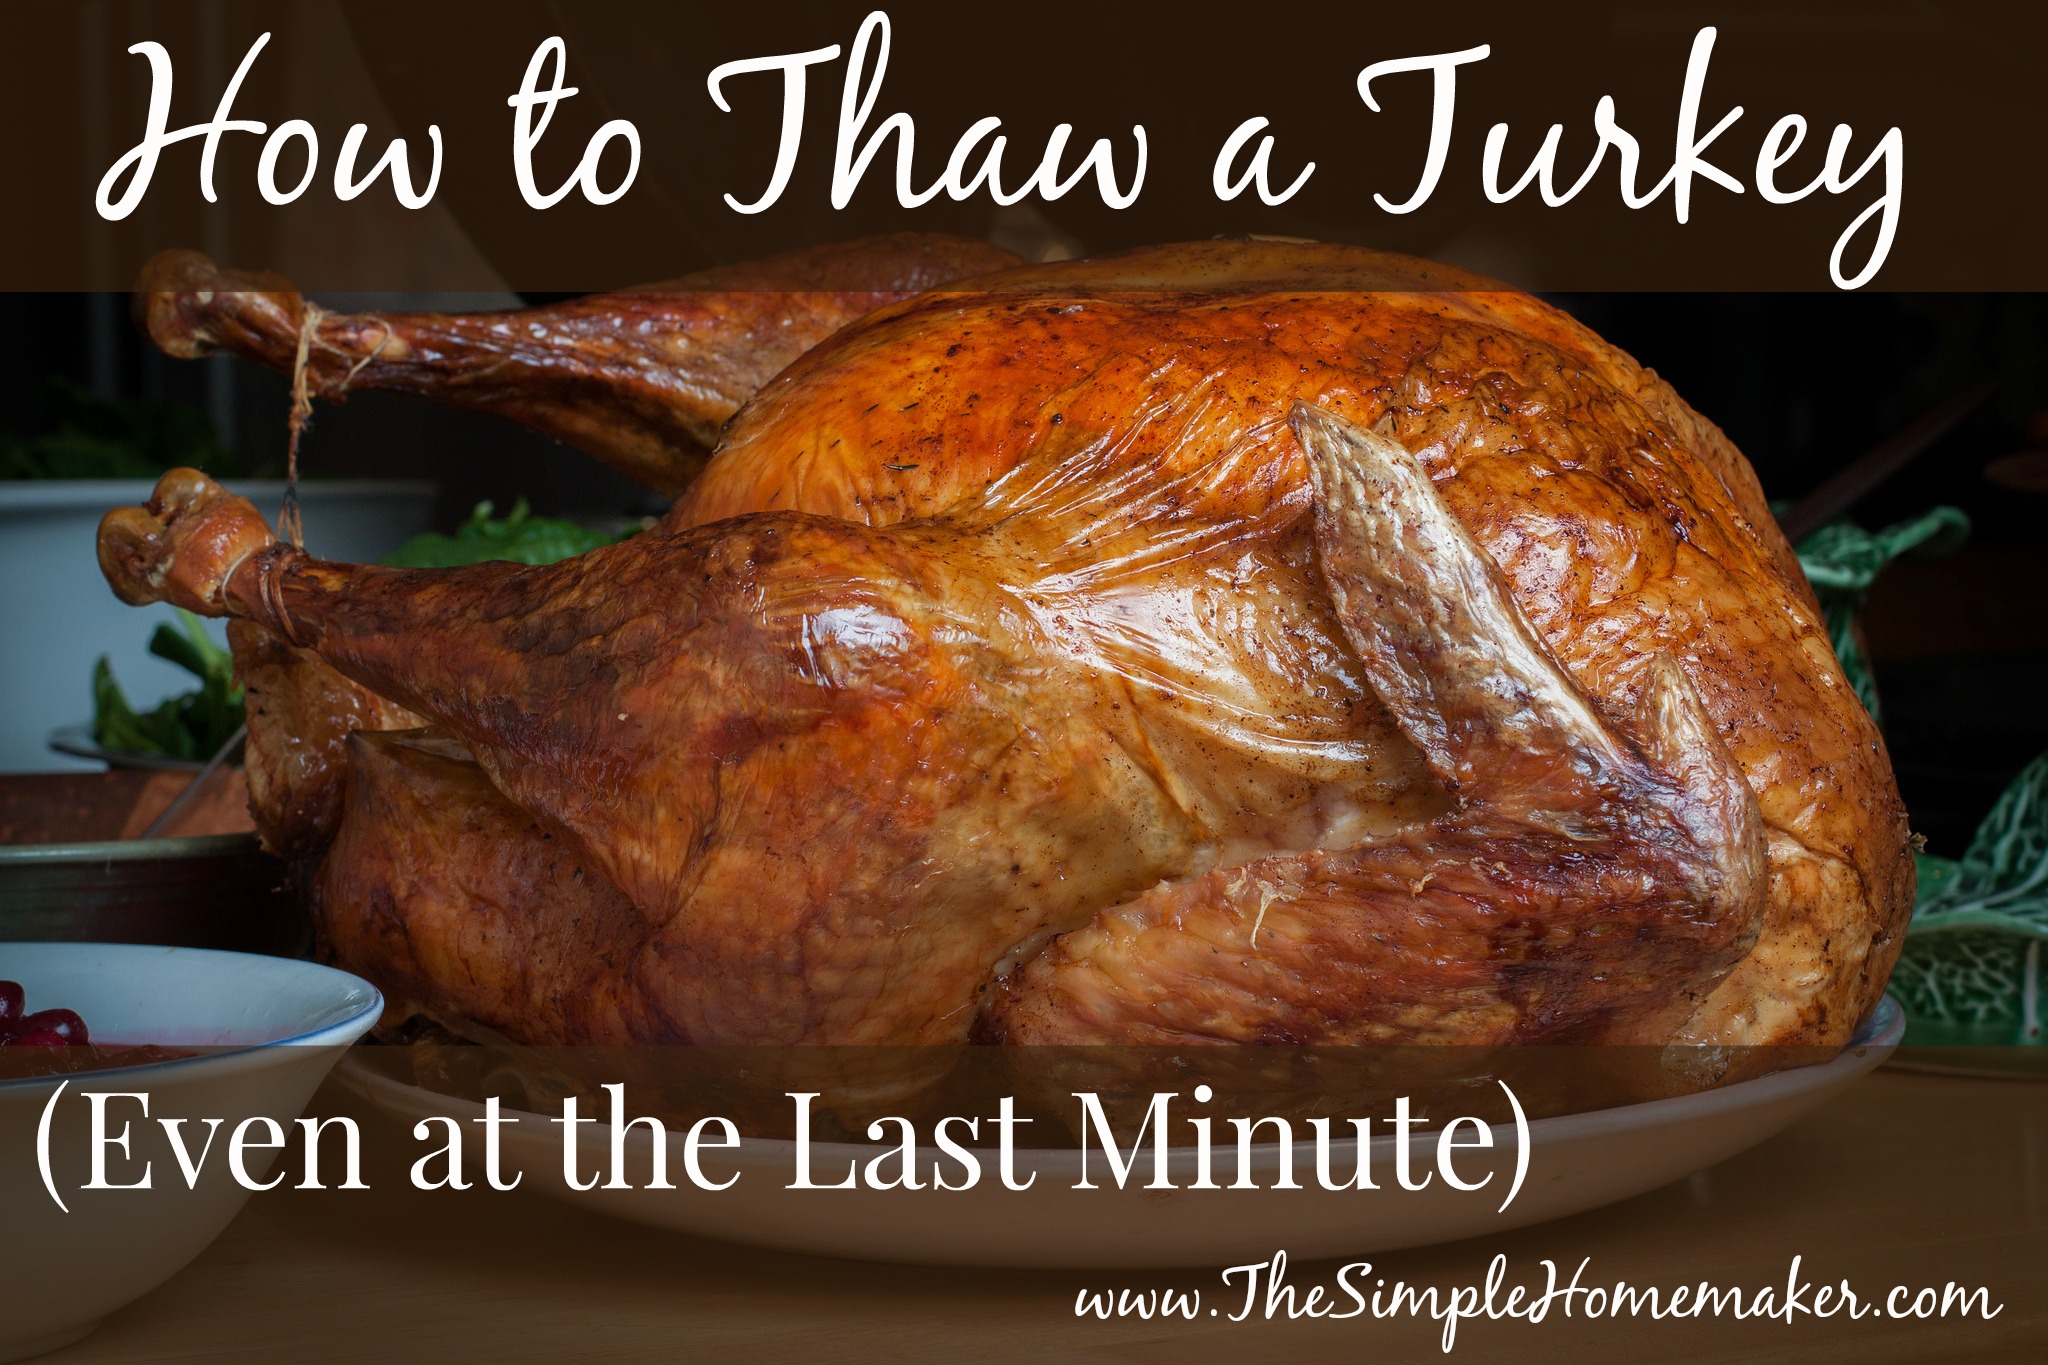
One more Thanksgiving tip:

Brine your turkey! It’s simple and makes all the difference for a juicy bird. Here’s how.

Jessica, I hope this tip for keeping potatoes from turning brown helps you out! Happy Thanksgiving! (Have a question? Submit it in the contact me section.)

What’s your best Thanksgiving dinner shortcut?

Truth in the Tinsel Advent Experience

Christy’s Simple Tip: Use a Whisk to Pick Up Eggs

Use a Whisk To Remove Eggs from Boiling Water or Dye Pinnable

Use a whisk to remove Easter eggs from a cup of dye without coloring your fingers, or to lift boiled eggs out of hot water without burning your hands and without dropping the slippery little buggers from a spoon. This also works to remove them from ice water if you cool your eggs after boiling.

Simple press the whisk onto the egg, and the little stinker should pop right through the loops on the whisk.

To remove the egg, separate the wires a tad and the egg should pop right out. If it doesn’t come out, it doesn’t deserve to be free.

Of course, if you like your kids to show up at church on Easter Sunday with dyed hands and wrists, you won’t want to use this technique. For our family the dyed hands on Easter are a tradition, and I’m not one to break with tradition.

I think I’m going to bring a whisk to the next egg-and-spoon race we’re invited to. That’s not cheating, is it?

To see your favorite simple tips featured on The Simple Homemaker (including a link to the page of your choice), please submit it through my contact page or send an email (pictures are optional) to TheSimpleHomemaker at gmail dot com with SIMPLE TIP in the subject.

Christy’s Simple Tips: Using Clothespins to Close Bags

Clothespins Pinnable

Instead of bulky, cumbersome chip clips or annoying little twist ties which were created only to aggravate parents of hungry children at lunch time, use clothespins to close bags in your kitchen. Simply fold down or twist the bag and attach a clothespin or two.

If the item belongs to one person in particular, use a permanent marker to write a name on the clothespin.

If you want to get really fancy (which is kinda the opposite of simple, but this is a great idea, so I’m going with it), paint the flat surface of the clothespin with chalkboard paint so you can write on it with chalk. Chalk is fun. Clothespins are fun. This is a win-win.

You could also spruce up your supply a bit by covering your entire house table with newspaper, setting out paints and markers, and letting your kids get in touch with their inner Monet and Picasso on your clothespins.

Snag a bag of 50 to 100 clothespins at most discount stores, department stores, or drugstores for only a buck or two. Some are better quality than others, but the cheapies are just fine for this purpose…even if they’re not sturdy enough for the job for which they were originally created.

I keep a small bin of clothespins in my “baggie” drawer where they don’t take up too much space.

Contact me if you would like your simple tip featured on Christy’s Simple Tips.

How to Fry an Egg

This post contains affiliate links and an egg-frying technique. Beware. 

Embarrassing Confession: Until last month I couldn’t fry a decent egg to save my family. Life wasn’t always so grim. I used to fry eggs just fine. I didn’t really know what I was doing, but that didn’t seem to matter. I had a pretty good egg-frying track record. I temporarily thought I was endowed with a little extra magic in the kitchen or maybe a bit of beginner’s luck. Then somehow, I lost my egg-frying abilities. It was a sad day fifteen years. I now know it wasn’t beginner’s luck or talent that landed the rare identifiable egg on my hubby’s plate–it was just God offering my hungry husband a little mercy.

Now, however, I can fry an egg like a pro because I learned from the pros. You may think this is no big deal and a ridiculous post, but I can guarantee you there is a Frustrated Someone out there searching “How to fry a stinkin’ egg already!” I get you, Frustrated Someone. I totally get you.

I learned how to fry a stinkin’ egg (and do other amazing-to-me things in the kitchen) from the book my hungry husband gave me for Christmas, entitled The America’s Test Kitchen Cooking School Cookbook: Everything You Need to Know to Become a Great Cook. It’s a big title and an even bigger book.

In case you think my husband’s a big fat meanie, I requested the book after one too many broken eggs and dry roasts.

Anyway, this really isn’t about the book. It’s about how to fry a stinkin’ egg already! (This is a bad picture of my stinkin’ eggs, but when you live in a trailer and shoot with a cell phone, it’s how egg pictures look. Trust me that the rest of my eggs looked much better than the eggs in this picture, but we were so excited that I was making consistently (instead of randomly and rarely) awesome eggs that we ate the stinkin’ things with no pictures.)

How to Fry an Egg ... because some of us just can't.

How to Fry a Stinkin’ Egg

(According to America’s Test Kitchen, with some additions from l’il ol’ me)

What You Need:

  • non-stick pan–8 or 9 inches for 2 eggs, 10 inches for 4 (I just use what I have)
  • butter–about 1.5 teaspoons per 2-4 eggs (3 teaspoons is a tablespoon–memorize it)
  • stinkin’ eggs–2 per person is reasonable, eh?
  • spatula (turner)
  • timer

What You Do:

  1. Heat the pan over medium-high heat for five minutes. Set your timer.
  2. Meanwhile, crack the eggs on a flat surface, not on the edge of the bowl or pan. Why not? Because minuscule egg shell fragments may be forced into the egg, and you won’t see them and then you’re swallowing little shell shards and making your intestines cry. Nobody wants weepy intestines.
  3. Put the eggs in a cute little bowl, two eggs to a bowl. If you’re making four eggs, use two bowls. That way the eggs all go in at the same time and get done at the same time. Eggs like everything to be fair.
  4. After the pan has been heating for five minutes, toss the butter into the pan. When I say toss, you know I mean place gently, right?
  5. Tip the pan to melt the butter and coat the pan. The butter should melt in under a minute. If it takes longer than a minute, your pan is not hot enough–heat it longer. If your butter burns during that minute, your pan is too hot–start over, and, uh, it’s okay to cry a little, too. I mean, it’s butter!
  6. Gently tip the cute little egg-bearing bowls and gently deposit the eggs into the properly heated pan. Don’t plop them in from the heavens. Get down in there.
  7. Hurry scurry like a little bunny and salt and pepper those babies, unless your preschooler is eating them and doesn’t like pepper. Test Kitchen Guru says 4 parts salt to one part pepper. I just shake-a shake-a, but remember, my husband is a hungry man.
  8. Quickly cover the pan to maintain the temperature. If your pan doesn’t have a cover, do what my brother does and plop a cookie sheet on top. If your cover has a little steam vent, don’t do what younger and dumber me did and plug the vent with your finger. Moving on.
  9. Cook for 2 minutes, and then do a quick peek to check the eggs to see if they are to your liking. “Done” means the membrane over the yolk is white. If you like the yolk hard, cook it longer. I’m more of a 3.25-minute egg girl myself. I also like peanut butter on my eggs, so you shouldn’t go by my likes.
  10. At this point you have some options. My mom adds a splash of water to the pan to steam the eggs and cook the tops better. I flip some of my eggs when they’re nearly done and firmly set, because the people I feed like the yolks better that way. Test Kitchen Guru leaves them alone. You, Frustrated Someone, can choose.

That’s it. It’s really simple. Still, I’m going to talk on. These next points are embarrassingly obvious, but if you’re reading this to learn how to fry an egg, Frustrated Someone, you and I need people to point out the obvious. There’s no shame in that. No shame.

  • Please don’t overcook your eggs. You can always cook them a little longer, but you can’t uncook them, unless you call giving them to your dog and starting over uncooking.
  • Toast your bread while you’re waiting.
  • Have softened butter available to spread on your hot toast. Well-buttered toast helps ease the pain in case your egg fry fails. I like to pop my toast in the pan after I pull the eggs out.
  • Use a really good skillet. While I’m all about taking accountability for your actions, you really can blame this failure on the tools.
  • Don’t get distracted by a four-year-old and the word “eggs” and go off and read Green Eggs and Ham and forget that you’re frying eggs. That’s what timers are for! Also, seriously, never leave the stove unattended and scamper off on an outdoor adventure and have to call the house from the back 40 to ask someone to take your stinkin’ eggs off the stinkin’ burner and feed them to the stinkin’ dog who will be very sad you’re finally learning how to cook in a way that people will eat it.

In summary:

  1. Preheat pan for five minutes.
  2. Add butter.
  3. Gently add eggs.
  4. Season.
  5. Cover.
  6. Cook.
  7. Check.
  8. Serve.

Go for it, Frustrated Someone! Go fry an egg!

Now, I know you must have a cooking challenge of your own. If you share it in the comments, I would be happy to look it up in my cool fun new Cooking School book and write about it.  So happy!

How to Thaw a Turkey (Even at the Last Minute)

How To Thaw a Turkey (Even at the Last Minute)

When it comes to thawing turkey, we’ve got your back with these guidelines garnered from Butterball and Cook’s Country:

How to Thaw a Turkey

If you have 3-5 days, follow this guide:

  1. Move the turkey from the freezer to the refrigerator.
  2. Leave it in the wrapping it came in.
  3. For some reason which I don’t know, Butterball says to thaw it breast side up.
  4. To keep it from leaking all over everything else in your fridge, place it in a large baking pan or tray.
  5. Allot a day for every four pounds of turkey. That means a twelve-pounder will take three days, a twenty-pounder will take five days, and, if you’re roasting Big Bird, you should probably start thawing in July.

How to Thaw a Turkey at the Last Minute

If you pulled the major oops and forgot about your turkey until the day before you need your bird (or the day of), follow this guide:

  1. Leave the bird in the wrapping.
  2. Plop the frozen bird in water. Make sure it is completely covered. You can use a cooler, a five-gallon bucket, the sink, or, hey, your bathtub. Changing the water frequently will speed up the process.
  3. This method requires an hour for two pounds, so, again, 12 pounds is 6 hours, 20 pounds is 10 hours, Big Bird is–you know, this roasted Big Bird talk is morbid and disgusting.

When your bird is thawed, you have two to four days to get it from thawed to cooked, so don’t get too distracted and forget about your bird.

Just so you know, the term “last minute” is figurative. If you literally forgot to thaw the turkey until the minute it was supposed to go in the oven, turn on the game, order pizza, and invite everyone back tomorrow. It will make a great story to tell your daughter-in-law when she forgets to thaw her turkey.

If you’re interested in a super juicy bird, don’t forget to brine your turkey.

Okay, this is your time to “shine.” What’s your best “forgot to thaw the bird” story? 

My story: I’ve never forgotten to thaw a bird, but I did set one inside the garage door when I came home from the grocery store and forgot it there…for days. Why didn’t I notice it? Apparently, I rarely used that door, and also it was a buy-one-get-one-free sale, so the other turkey was getting all the pre-Thanksgiving TLC. We smelled found it eventually.

Photo thanks: Tim Sackton (changes mine)


Christy’s Simple Tips: How to De-Core Iceberg Lettuce

Christy's Simple Tips: How to De-Core Iceberg Lettuce


I thought everybody knew this technique, so I never thought to mention it. About two years ago my grandmother told me to watch the neat trick my uncle had just taught her, and she showed me the iceberg coring method my own mother–her own daughter–had been using my whole life.

Apparently, not everyone knows this. But you will.

How to De-Core Iceberg Lettuce

  1. Take the iceberg lettuce in your hand.
  2. Locate the core.
  3. Slam the core down on a hard surface, like a counter–not like your head.
  4. It will loosen so you can slide it out.

Super duper simple!

Oh, palm the lettuce like this or with both hands on the sides:

Christy's Simple Tips: How to De-Core Iceberg Lettuce

Don’t hold it with one hand on the bottom by the core. Ouch.

Christy's Simple Tips: How to De-Core Iceberg Lettuce

This simple tip comes straight from Mom down on the ol’ homestead. Thanks Mom! Love you! OX

Special thanks to Elisabeth for coring this head of lettuce for all you. You have lovely hands, Elisabeth. Go practice your piano.

To see your favorite simple tips featured on The Simple Homemaker (including a link to the page of your choice), please submit it through my contact page or send an email (pictures are optional) to TheSimpleHomemaker at gmail dot com with SIMPLE TIP in the subject.

11 Tried and True Tips for Getting Kids to Eat Veggies

11 Tips From a Mama of 8 to Get Kids to Eat Veggies


One poor mama asked me how to get her kids to eat their vegetables. She has a child that gags and cannot swallow his veggies. Poor guy.

Many people will judge. I might have after my first four girls, who ate their vegetables enthusiastically, but now I eat my veggies with a side of humble pie! Here’s why:

We went through the whole gag issue with one of our seven, our boy. He would gag with certain veggies in his mouth. If required to swallow, it would come back up. Mmm…that’s appetizing. I don’t think anyone watching the scene firsthand could say it was an obedience issue. He physically couldn’t get them down, and he was a very obedient child. We kept offering the veggies and now he inhales them all.

Here is what we did to make veggies a readily accepted part of my son’s diet.

11 Tried and True Tips for Getting Kids to Eat Veggies

1–Frozen peas and green beans are like ice cream bonbons. Okay, they’re totally not, but they’re fun to eat if your kids are beyond the choking stage.

2–Smoothies are God’s alternative to dinner table battles and McDonald’s drive-throughs. Throw in a tiny bit of veggie and gradually increase the amount.

3–I often opted for heavily veggie-based dishes instead of stand-alone veggies. Somehow, veggies are easier to eat when they’re in a different form–casseroles, veggie soup, tomato soup, stir-fry, pasta sauce, pies, even lasagna. Chop small or blend, you sneaky mama.

4–I still add veggies to as many dishes as possible, and then tell my son what he ate only after he ate them and liked them. That way he knows he has tried and enjoyed that veggie. Parsnip-mashed potatoes comes to mind. I also sneak onions into everything, and he love-hates onions. (Loves them until he finds out he just ate an onion, at which point everything is gross, although yesterday he realized he loves French onion soup.)

Help Your Kids Eat Their Veggies!
This pasty is sneaky–it has yummy veggies inside!

5–Pretty bowls of veggies set out as daily snacks are enjoyed by everyone, and he dives right in with the rest. Dip makes it more fun, but I only use that as a treat.

6–We cut out as much processed foods as possible (in our case, all the processed food) both to not give him an alternative snack and to help his health and tastes. This is particularly effective if the gag reflex is from a developing (or passing) allergy issue.

7–I kindly and respectfully asked my hubby, who sits by him at every meal and was admittedly not raised on veggies, to stop making remarks about how disgusting veggies are and to quit leaving them on his plate. Setting a good example is huge. Huge-huge!

8–We planted a garden together and ate the goods.

11 Tips to Get Kids to Eat Veggies
Gathering rhubarb from a friend’s garden.

9–Sometimes he would be my shopping buddy, and I would let him pick out whatever he wanted to try from the grocery store. We rotated kids, but it was new and exciting, so they tried it.

10–We required him to try one bite of the veggie dish, or one piece (like one pea or bean) for each year of his age. I apologize in advance, my dear future daughter-in-law, if you have to count out 42 beans for him. I really tried.

11–We held off on the foods that made him gag. Eventually, we reintroduced them and he was totally fine with them. It is possible that it’s a sensitivity issue.

Here’s a ray of hope for you mamas struggling to get veggies into your children (or hubby): When my gagger son (now 9) was six, he talked my veggie-phobic husband into trying Brussels sprouts, and they both liked them. There is hope! At six he was my least creative eater, but at 9 he loves his veggies and will eat almost anything, especially mushrooms.

11 Tips to Get Your Kids to Eat Veggies
That’s him in the background, happily munching on an “edible weed” from a friend’s back yard.

How do you get your kids to eat their veggies?